| .vscode | ||
| public | ||
| src | ||
| .eslintrc.json | ||
| .gitignore | ||
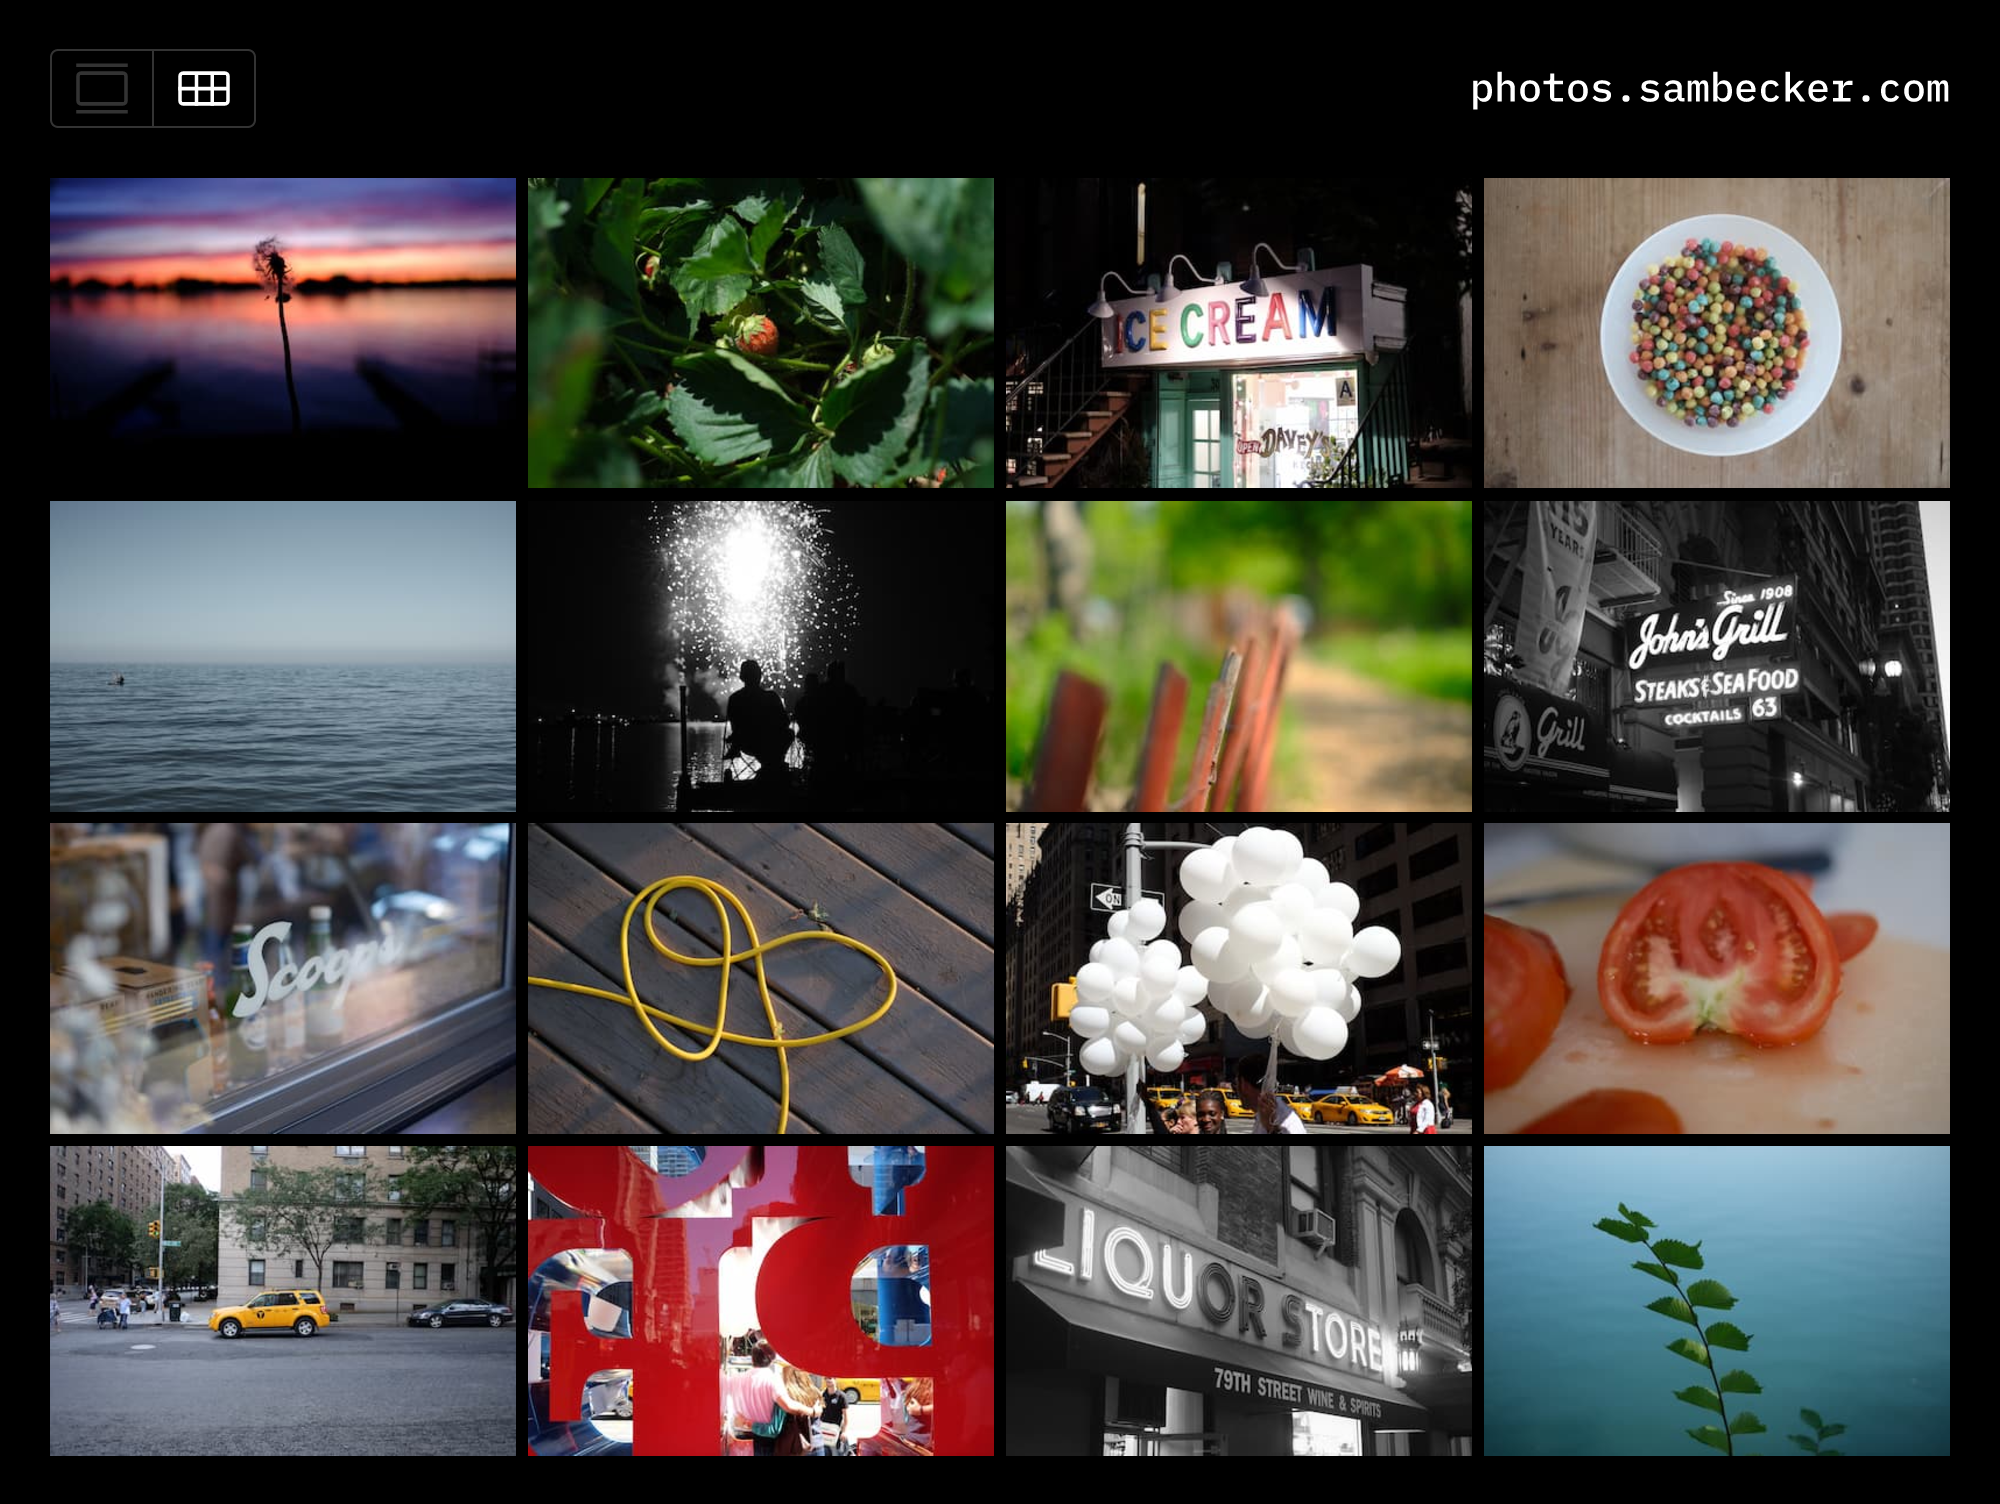
| app-preview.png | ||
| next.config.js | ||
| package.json | ||
| pnpm-lock.yaml | ||
| postcss.config.js | ||
| README.md | ||
| tailwind.config.js | ||
| tsconfig.json | ||
📷 Photo Blog
This template is in BETA.
Optimizations are still being made around auth and cache behavior.
Database schema changes are expected.
1. Deploy to Vercel
- Click Deploy
- Add required storage (Vercel Postgres + Vercel Blob)
- Add environment variables
NEXT_PUBLIC_SITE_TITLE(e.g., My Photos)NEXT_PUBLIC_SITE_DOMAIN(e.g., photos.domain.com)NEXT_PUBLIC_SITE_DESCRIPTION(optional—mainly used for OG meta)
2. Setup Auth
- Create Clerk account
- Add Clerk environment variables:
NEXT_PUBLIC_CLERK_SIGN_IN_URLCLERK_SECRET_KEYCLERK_ADMIN_USER_ID
- Create admin user (you'll use this to access
/adminon your blog) - Add admin user id to environment variables:
CLERK_ADMIN_USER_ID
3. Upload your first photo
- Visit
/admin - Click "Choose File"
- Title your photo
- Click "Create"
4. Develop locally
- Clone code
- Install dependencies
pnpm i - Run
vc devto utilize Vercel-stored environment variables
5. Add Analytics (optional)
- Open project on Vercel
- Click "Analytics" tab
- Follow "Enable Web Analytics" instructions (
@vercel/analyticsis already part of your project)